Crackme Solution 3 Part 2 - Patching NoREpls 1.1
So from my last post, we were done reverse engineering NoREPls 1.1 and have figured out the registration key. However, this isn’t a good or complete solution, since we need to register it everytime we want to use it. And as a Software Engineer, we are always about being lazy 😛 So the best alternative here is to patch it so we never have to register again. So how do we do this? First, we must consider what a registration means. In this program, a registration means the following:
1) A registered program changes the window name of the program to remove the (demo version). It is safe to assume that there is a different String for this or some string manipulation is occurring here.
2) There is a boolean somewhere indicating the registration status. And depending on the registration status, we allow the Save functionality.
We must address these concerns to make our NoREpls 1.1 become a full version. Let’s get cracking. 🙂
From previous usages of the program, we know the following. The string for the demo version is NoREPls – Version 1.1 (demo version), and the registered version is NoREPls – Version 1.1. We also know that the Save functionality is comparing some boolean to allow saving or not.

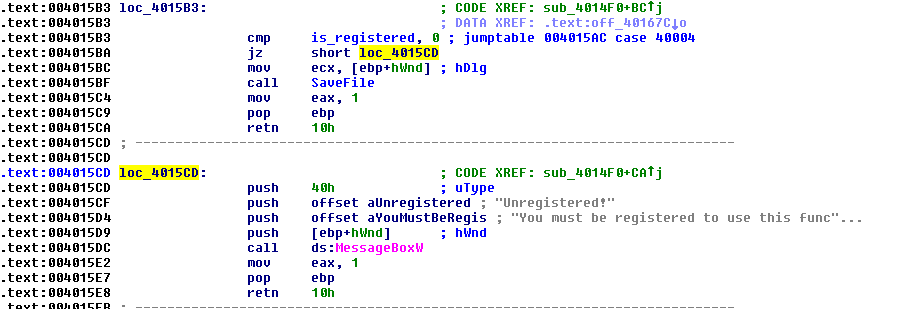
We notice there is a boolean of some sort being compared in order to show the “You must be registered to use this function.” It is safe to assume that this is the registration boolean. We named this as is_registered. So how this works logically is if the boolean is 0 (unregistered), then jump to the function that indicates you must be registered. We need to patch this to avoid making that jump (so it never jumps to indicate that we must not be registered). In order to do this, we will need a debugger to patch the program. There are many options out there, however I personally prefer using OllyDbg. I recommend using OllyDbg 1.1 as 2.0 is buggy and you can supplement the features of 2.0 using plugins. Now, then we must load the program in OllyDbg. Now that we’ve loaded the program in OllyDbg. We must jump to that address (004015B3).

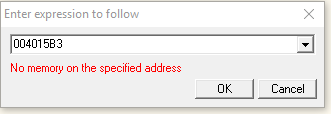
Hey! What gives? That address is correct. Err yes and no. It is correct for IDA, but not in OllyDbg. The reason being is the base address is different. So we’ll need to do some calculations. The base address varies every time you load the program in OllyDbg. So you will need to do some calculations. The calculation is done like so. First you need find how much of an offset this address is from the base address in IDA. To do this we take 0x004015B3 – 0x00401000. Note that 0x00401000 is the base address (the first address of our executable). This gives us 0x5B3. Remember this value. Now go back to OllyDbg and find the base address. This is the first address (so scroll to the top). In my case, it is 0x12B1000. Now we add 0x5B3 to it. Now jump to that address (CTRL + G).

You should find something like this. We are on the right track. Now right under that is the jz (jump if zero) instruction. Replace this with a nop (no operation) instruction by double clicking the instruction. It should look like this:

Now right click these two highlighted instructions, and right click Copy to Executable > Section. This copies the changed bytes to our executable. Great.
Now, we need to find the window text. Go back to IDA. Go to the Names window and look for SetWindowTextW. We know that the window text is being set so that is why we are looking for it. Now, keep x-refing for that until you find these:

Great. We found the string, and you can get the address of the offset by double clicking the offset name. Now we do the same process as we did earlier with calculating the base address in IDA. We need to change the first address to match the first instruction in the second screenshot. So the calculation would be 0x401530 – 0x401000 to get the offset. And then get your base address in OllyDbg and increment it to get to the first instruction. In OllyDbg, your instruction should look something like this:

Change that instruction with the new offset, it should be red when you change it:

Now do the same thing as before and copy to executable > selected. Close the window and save the new executable. Now, let’s test it out.

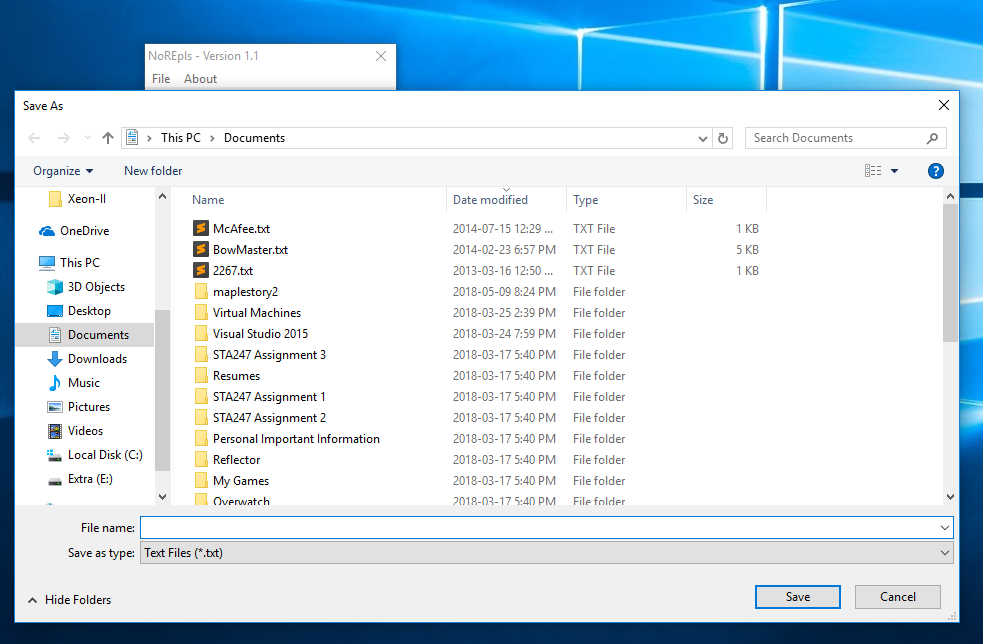
Hurray it works! Congratulations on patching your first executable. 🙂